
Printing Identity Guardian Barcode Badges on a PC
Overview
This blog details a method for easily retrieving and printing Identity Guardian enrollment profile documents from a Zebra mobile device which has been pre-configured for enrolling users i.e. optionally capturing a biometric facial image together with user id and passcode and encoding it in a QRCode. It describes methods for printing the QRCode as a badge on both Zebra mobile/desktop printers and Zebra ZXP card printers. Note that the enrollment profile is a PDF document so it can be printed in multiple ways on any other printer once it is retrieved from the enrollment device. The document templates for printing ID cards referenced below are located at this link: https://drive.google.com/file/d/1ERwzwf5EgbRYLF2MImxXiD06NMZ2wOht/view?usp=sharing
Method
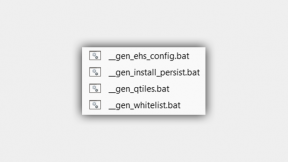
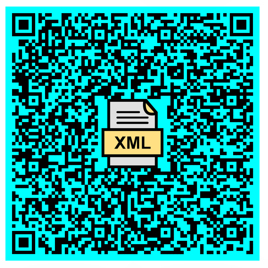
- Install the AnyDesk client via one of the StageNow barcodes below (requires a pre-configured internet connection).

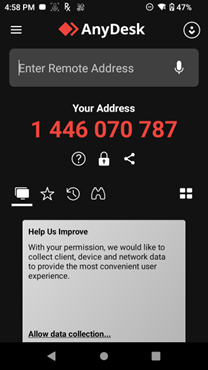
2. Run AnyDesk app on PC side (downloadable from https://anydesk.com/en-gb) and connect to address shown on device side:
3. Once connected , start the file browser (Browse Files) and then enter \enterprise\usr in the path field in the right hand panel to see contents of /enterprise/usr on device
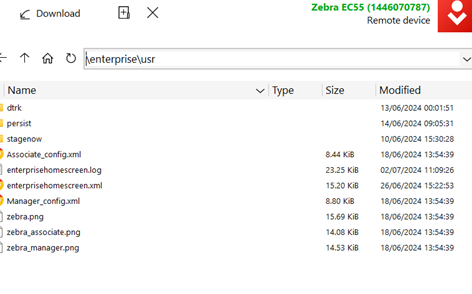
4. Select the persist folder in order to view the Identity Guardian profiles created on the mobile device.
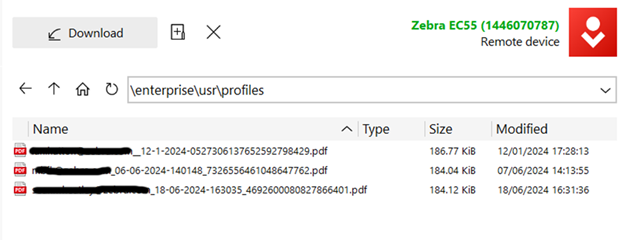
- Transfer PDF file(s) to PC by highlighting the required profile(s) , right click and select Download
- Click on the PDF file on the PC side of File Browser to load in Microsoft Edge browser window
- Use magnify to get a clear image of the barcode which should not be blurred (as a guide it will be approx. 8cm in size on a 14” monitor)
- Right click to access the Edge Screenshot tool , draw a selection box around the QRCode and then Save – this will save the barcode as a JPEG file in the Downloads folder on the PC
For printing on a Zebra Mobile/Desktop printer:
- Install and run Zebra Designer Essentials (https://www.zebra.com/gb/en/software/printer-software/zebradesigner.html )
- Load the supplied identity card template (ig_user_barcode.nlbl) – this will work on both 2” and 3” printers
- Edit the barcode field and replace the existing image with the downloaded JPEG file
- Edit the username to match the image
- Select the required printer and Print via a CPCL print driver (may need to be installed to support the printer which is being used)
- Save the file with a filename which includes the username for future printing
For printing on a Zebra Card Printer
- Follow above steps to create id card with Zebra Designer Essentials
- Select Print in order to access the preview of the IG identity card
- Press Shift+Win+S to start the screen clip tool and draw a border around the card
- Start Paint , paste the card image and then save a PNG file
- In Word or similar, load the template file (ZXP Series 3 IG Card Template.rtf)
- Right click on the existing card image and select ‘Change picture’
- Browse to the PNG file in order to replace the existing card image with the new one

Ian Hatton
2 Replies
This is a fantastic guide! I especially appreciate the detailed instructions with screenshots, super helpful for getting everything set up correctly.