
Quickly configure Datawedge to create a WiFi cordless scanner
Quickly configure Datawedge to create a WiFi cordless scanner
Summary
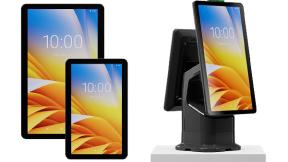
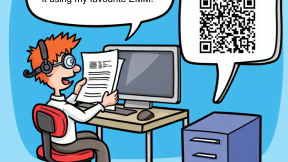
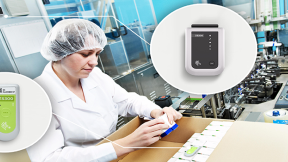
This document details a simple method of using Datawedge to enable any Zebra EMC Android device to act as a cordless WiFi scanner whereby the scanned barcode data is sent to a configured PC and processed via the keyboard queue using the Zebra Windows IPWedge utility. Some typical use cases for a cordless IP scanner would be a small store stocktake or to capture a series of barcodes from items being included in a customer shipment in order to create a packing list/invoice.
Method
The technique used is automatically modify the standard DWDemo profile to include the IP address of the host PC as the IP output destination and then transfer and install the modified profile to the device using the Datawedge autoimport folder. This is achieved via a SendTo shortcut (_set_ipwedge.bat) which performs the following operations:
- Query the host PC to return the current WiFi IP address
- Modify the default DWDemo profile (dwprofile_DWDemo.db) to include the PC IP address in the IP output destination field
- Push the modified DWDemo profile to the Datawedge auto-import folder (/enterprise/device/settings/datawedge/autoimport )
Usage
-
Install the ipwedge shortcut files from the zipfile here: https://drive.google.com/file/d/1AU9GQr9QY2QXR_RHeUFxJl9PD8UNUZGF/view?usp=sharing
b. Using a PC with Windows 10 or later , extract all files to the SendTo folder on your PC (access by Win+R, type shell:sendto and press enter) preserving the sub-folders
c. Ensure ADB is added to the system path (may require PC reboot after modifying the PATH in order to make it effective)
d. If using Windows 11 , the SendTo option is not present on the initial right click menu ( it requires expansion to show the option) . This can be fixed by configuring Windows to show the full right click menu each time using a registry key modification detailed here: https://www.intowindows.com/how-to-enable-the-old-context-menu-in-windows-11/
e. Download and install the Windows IPwedge package located here: IPWedge for DataWedge Support & Downloads | Zebra
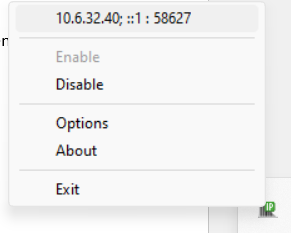
f. IPWedge should appear in the taskbar icons on the PC – click on the icon in order to access the menu below:
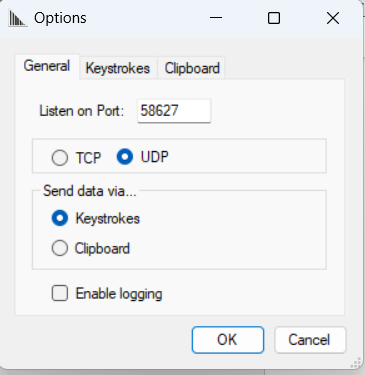
g.Select Options and select UDP as shown below . Press OK to close the Options panel.
h. Ensure the PC and Zebra device are connected to the same WiFi network
i. Check that the PC has ADB on the system path and can communicate with the Zebra device connected via a USB cable (using the command ‘adb devices’)
j.Right click on any file (file is not used but should not contain spaces in the filename) and select - Sendto ‘_set_ipwedge . This will generate a dwprofile_DWDemo.db file in the current folder which includes the IP address of the host PC
k. This file will be deployed to the Datawedge auto-import folder as follows:
i) SD660 based devices – the file will be pushed automatically to the autoimport location as part of the set_ipwedge shortcut operation
ii) Newer (non-SD660 ) devices – file will need to be manually pushed to the location using Mx FileMgr e.g. using the shortcut supplied as part of the files included in this utility package: Pushing Files to the Enterprise folder on Zebra Android 11 Devices | Developer Portal
iii) Alternatively, install the Exported XML Tester app (Testing XML Exported from StageNow before EMM Deployment | Developer Portal (zebra.com)) , push the modified file dwprofile_DWDemo.db to the /sdcard root using ADB ( adb push dwprofile_DWDemo.db /sdcard ) and then process the XML below to perform the file copy to the autoimport folder:
<wap-provisioningdoc>
<!--FILECOPY-->
<characteristic version="0.6" type="FileMgr">
<parm name="FileAction" value="1" />
<characteristic type="file-details">
<parm name="TargetAccessMethod" value="2" />
<parm name="TargetPathAndFileName" value="/enterprise/device/settings/datawedge/autoimport/dwprofile_DWDemo.db" />
<parm name="SourceAccessMethod" value="2" />
<parm name="SourcePathAndFileName" value="/sdcard/dwprofile_DWDemo.db" />
</characteristic>
</characteristic>
</wap-provisioningdoc>
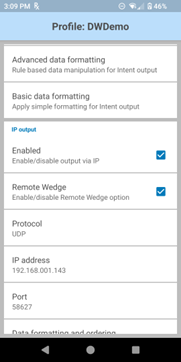
l. After deployment , check the DWDemo profile to confirm that the IP Output option is enabled ( IP address should match the host PC)
m.Open Excel on the host PC
n. Run DWDemo on the Zebra device and scan any barcode – the barcode data should appear in the Excel window immediately:
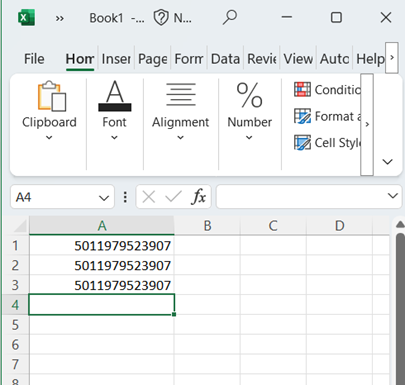
o. Note that not all Windows apps will display the incoming barcode data correctly e.g. Notepad and Wordpad are adding additional formatting characters. Excel works well as does Notepad++
Ian Hatton
Zebra EMEA March 2024

Ian Hatton