StageNow XML Export Tester WebApp
Overview
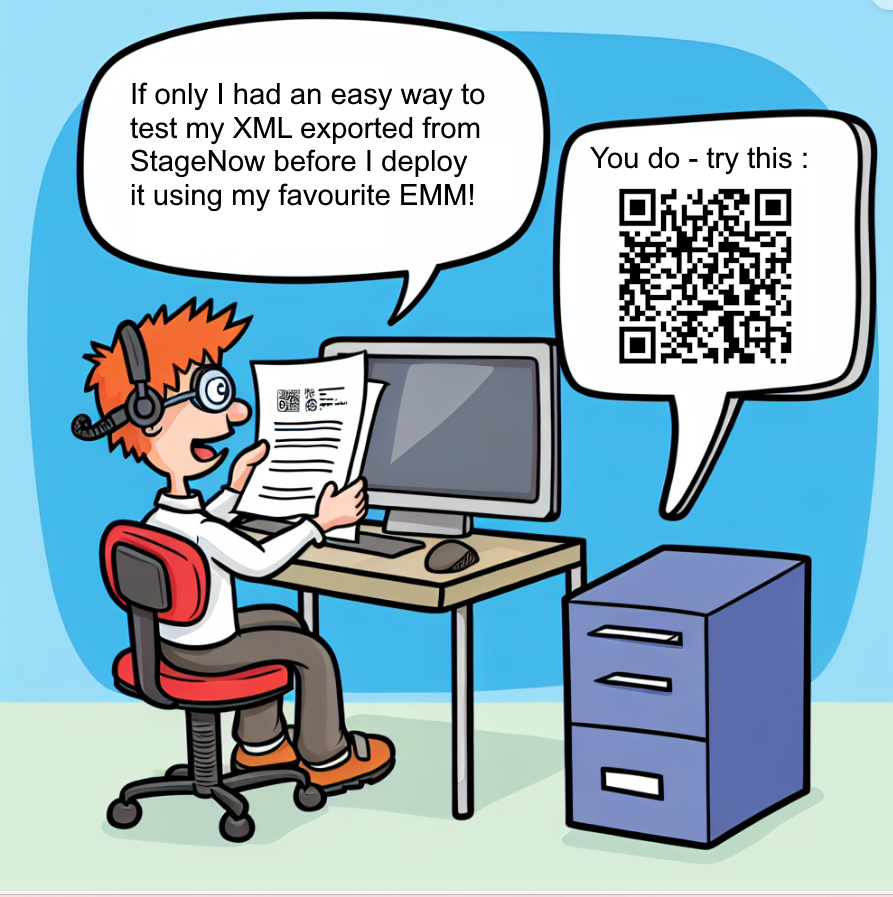
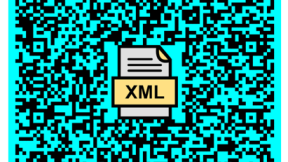
This web-browser hosted applet will allow XML exported from StageNow Desktop to be easily loaded, optionally combined and/or modified and deployed for testing on a Zebra device using ADB to push the XML file to the device in the path /sdcard/myxml.xml. After deployment, the XML can be processed using either the XML or JS barcodes included in the UI of the webpage.
Note that this web-based tool supercedes the native one originally posted here: Testing XML Exported from StageNow before EMM Deployment | Developer Portal
Installation
- Download the required files from https://drive.google.com/file/d/1vsTokwCPlS69F9hrJC3JUVzTu_s9TmQf/view?usp=sharing
- Unzip to a working folder on a PC , preserving the folder structure in the zip file
- Click on the websnexportvx.html file to load it in the PC default web browser
Optional Setup
The only additional configuration required (apart from installing the Zebra Android USB drivers and ADB) is an optional shortcut which allows the XML to be easily sent to the Zebra device using ADB (which must be pre-installed and on the PC system path). This SendTo shortcut is installed as follows:
- Download the zip file from the link embedded in the UI (circled in red below). Note that this zip file (__copy to myxml.zip) is also included with the files packaged with this document in the event that an internet connection is not available:

- Access the SendTo folder on your PC via Win+R , type ‘shell:sendto’ in the command window and press OK . This will open a File Explorer window in the SendTo folder
- Unzip the content of the zip file in the SendTo folder
- Right click on any XML file and select SendTo – the list should include the __copy to myxml option .Select this option and the file will be pushed to the connected device via ADB and renamed to /sdcard/myxml.xml
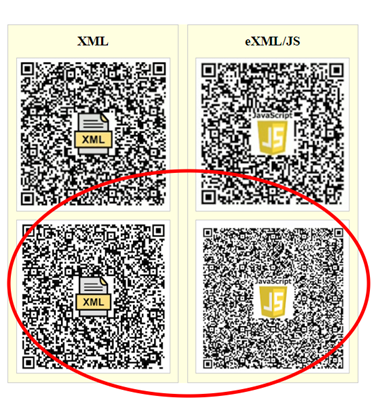
- Scan one of the two lower QRCode barcodes (highlighted below) in the UI to process the XML which was copied
Usage
- Click on the supplied websnexportv2.html file to load it with the default PC browser
- If you need to combine multiple XML files together into one, check the ‘Append XML Files’ option below. When checked, each file will be appended to the current edit panel contents. When unchecked, each file will replace the current edit panel contents.
![]()
- Press ‘Chose File’ and browse to the required XML file in order to load it into the edit panel. Many sample XML files are included with this document in the folder xml_builder. For test , browse and select batt_percent_on.xml – this XML will enable the device battery percent display in the status bar when processed. This provides immediate visual confirmation that the XML has been processed after deployment to a device.
- Make any required changes. If using the Append XML option then at any time selecting the ‘Combine’ button will remove all spurious <wap-provisioningdoc> tags and any resulting blank lines which should make the combined XML syntactically correct.
- With some EMM’s , when submitting XML via OEMConfig XML Passthrough we have seen that it is necessary to first remove any non-ASCII characters from the XML (i.e. carriage return/linefeed) . If this is a requirement, press the Remove CRLF button to reformat the XML without these characters.
- Select ‘Save XML’ – this will save the file in the Downloads folder of the host PC
- In File Explorer , browse to Downloads and double click on the XML file in order to load it into a browser window (Chrome is recommended for this ) and perform a syntax check. XML must be syntactically correct in order to be processed via Mx/StageNow i.e. any detected syntax errors must be corrected before submitting the XML document to Mx.
- If the SendTo shortcut is installed, right click on the HTML file and select ‘__copy to myxml’ in order to transfer it to the device currently connected via ADB. If this succeeds the file will be in the location /sdcard/myxml.xml
- If not using the SendTo shortcut, you can transfer and rename the file either manually using ADB E.g.
Adb push testxml.xml /sdcard/myxml.xml
Or
Copy the file to the device /sdcard root using File Transfer and then rename the file to myxml.xml
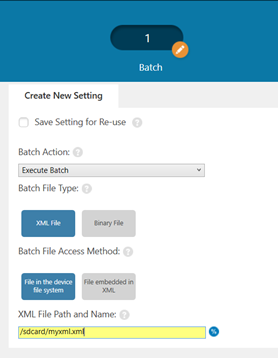
- Read one of the supplied StageNow barcodes in the UI of the webpage in order to process the XML file- these barcodes contain a StageNow profile with a single Batch CSP step as shown below:
- Repeat from step 3 as required in order to get the XML working correctly before deploying via EMM etc .
- If you want to combine two or more XML files into one document, browse and select each file in turn and it will be appended to the edit window. At any time, selecting the ‘Combine’ button will remove any spurious <wap-provisioningdoc> tags and any resulting blank lines which should make the combined XML syntactically correct.
- Press the Save button at any time to save the current editor contents. Note that the saved filename will correspond to the last XML file which was loaded into the editor – this should be changed in order to make the filename reflect the fact that multiple XML steps are included.

Ian Hatton


